« Archives in July, 2012

Madness of Deathwing 10 Man Heroic

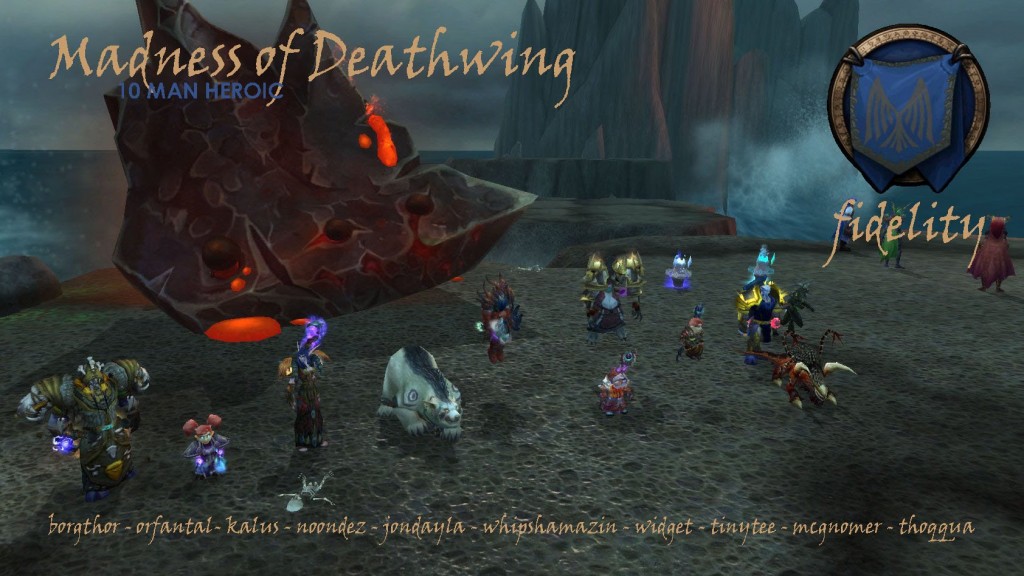
We tackled Madness of Deathwing on heroic mode this week, and after waltzing through the first three platforms right after killing heroic Spine, may have gotten a little over confident. However, the news of the nerf increasing from 25% to 30% next week spurred us on for a kill. Thanks again to Praka (playing Thoqqua) and Orfantal for filling in at the last minute. It was fun to watch the Moonkin turn into a Bear in subsequent screenshots (and even into a kitty and contract a parasite).

Heroic Madness of Deathwing requires some exacting cooldown usage, including external cooldowns for the tanks. For impales on a Warrior tank, I used Shield Wall, alternating with either Pain Suppression from Kal or a Last Stand / Enraged Regeneration combination and Hand of Sacrifice from Noondez. For Orfantal, he used Barkskin, alternating with Survival Instincts and Frenzied Regeneration and a Safeguarded Intervene from me (what a joy to have a reason to take those talents).

For parasite placement, we were humming along putting the parasite in the yellow Nozdormu dome, and burning it down with ranged only, followed by burning it down in amongst the AoE into the bloods. I can only resist Whipshamazin for so long, so on the last couple of attempts we moved to the strategy for the final platform, placing the first parasite very close to the corruption. It certainly didn’t make a difference for the first platform, but I’m told we gained 5 seconds overall, so I’ve got to be happy with that. The downside of placing the parasite outside the dome is that it blows up twice as quickly, the upside is that it’s a much easier for all DPS (and tank not tanking) to switch, burn it down and have spellweave hit the corruption that is up. Even at 25% the overall enrage timer is pretty well tuned with getting through each platform, so every second counts.

While the first three, and with a little practise, all the platforms are relatively straightforward, there is still a lot that can go wrong. It is one of those heroic fights where a couple of basic mistakes can eat through the one battle res and wipe the raid. It is also one of those fights that takes a long, long time to get to the part you haven’t practised, and that can wear on the focus of the raid as well.

Like a lot of groups, we had a significant amount of trouble with the bloods in the last phase. We tried keeping Terrors up to make the most of spellweave and efficiency with AoE, but it just resulted in some very dead tanks. Usually saying very dead would be a little redundant, but in this case it bears repeating. Very. Dead. Tanks.

We had various methods of slows with a mage, shamans, frost DK and warlock in the group. To shore things up, I toodled back to Stormwind and mangled my spec some more for Piercing Howl. Getting those those first couple of shouts up on consecutive GCDs as the bloods spawned made sure that the little bastards didn’t get too far before getting hit with everything else.

Our final strategy for the last phase was to DPS Deathwing’s head down to 3% above the next blood spawning mark, kill the fragments, kill the terrors (inside the yellow dome, focussing one at a time) and then load up the head again. So full of dots, we’d tick past the next mark and zerg the bloods. As long as he doesn’t heal up past that 5% increment, you can repeat it for the next increment. One of our worst attempts (aside from getting all the way through to the last phase) Deathwing was healed up past 25% as we would spawn wave after wave and his health awkwardly bounced over and under each 5% increment.

After killing the bloods at the 10% increment, it’s a zerg to 5% to kill more bloods while ignoring the fragments, and having the tanks just pick up the terrors. At this point depending on RNG, you may have some deaths due to unfortunate shrapnel placement.

It was exhillarating to get the kill on our “ultra-last” pull of the night, and a big grats to Whipshamazin who picked up our first [Life-Binder’s Handmaiden]!
Spine of Deathwing 10 Man Heroic

All the persistence and hard work paid off last night, and we finally severed the final tendon to send Deathwing crashing to Azeroth.  A big thanks to Prakalasa and Orfantal for joining us for the kill, and congratulations to you both on the achievement. Despite the joyous cries of, “thank $#@%, I never want to do that again” all around, we’ll be back to it soon to bag another kill for Widget who narrowly missed the raid tonight, but has been bashing the tendons over the last few weeks, even switching to the Death Knight to compliment our raid composition better.

Spine of Deathwing holds up pretty well against the nerfs in comparison to the other fights on heroic difficulty. With the inital nerf to tendon health to prevent guilds from having to stack specific class/spec combinations to burst it down and the 25% overall nerf currently, killing the tendons is much easier. I would still describe it as non-trivial, but depending on the raid make up you do need some reasonable timing and DPS to consistently get them down. Where the nerfs had a dramatically reduced effect is in the healing department, because the healing absorbtion debuff, Searing Plasma wasn’t nerfed at all.

How much effect does the standard Searing Plasma debuff have? It’s an excellent question I might answer in more detail later on, but I was curious and dived into the combat log. I calculated that at the 25% nerf mark, and on our heroic spine kill, the absorbed healing by the debuff was one third of the healing required for the fight. Now of course your mileage may vary depending on strategy and how good your raid is at avoiding the damage in the fight, but that is a very large porting of the healing requirement that remained significantly more difficult than the other aspects of the fight.

For those interested in how we got our kill, the following is worth noting.

We had a paladin tank on the blood and a warrior tank on the Amalgamations. I’m guessing the other way would have worked similarly well. For the third plate, it was great to have the stuns from both warriors and a holy paladin to use while kiting 30+ bloods.

We had a druid, disc priest and paladin healers. Our paladin tried to manage the earth corruption while our priest with the glyph of dispell magic handled the blood corruption. It’s more important that you just assign someone to those roles than who you assign. The glyph of dispell magic is a no brainer… at 1.3% of Kal’s healing isn’t something that people should jump up and down about. We made good use of the healers cooldowns, and while learning the fight the earlier the better. While research and suggestions were that the roll after the second plate was the absolute pinnacle of healing throughput, we found that as we became more proficient with the fight we could save cooldowns like tranquility for during the third plate.

Our DPS were an enhancement shaman, affliction warlock, elemental shaman, shadow priest and balance druid. At the 25% nerf, please make sure you aren’t just making an assumption that spec XYZ isn’t going to cut it, particularly if things start out slowly. I was glued to the damage into the burning tendons early on and can tell you that lift to lift, night to night and pre and post research performance can vary wildly. Getting the most out of your character in such a small burst window, with target switching, multiple cooldowns, potions and varing degrees of ramp up time is a very different exercise than the rest of heroic Dragon Soul. Once everyone got the hang of DPSing the tendons, it was usually the least of our worries although on our kill night we did miss the second tendon at least once.

There is a lot more going on with DPS than just the tendons. Having ranged that can break fiery grip VERY quickly but not kill of the corruption early is fantastic. Having DPS that can almost kill an amalgamation and give the tank the confidence to kite it to the plate with good timing in relation to the next firey grip is important (you guys were on fire last night).

Lastly, I can’t recommend the addon Spine Blood Tracker highly enough (and thanks for your recommendation Whip). Having that information really does inform your decisions on the strategy to deal with bloods. Towards our kill, we were more and more aggressively killing bloods as they spawned before the second lift of the first two plates. Unless you have 27 bloods out before the second lift, and assuming the raid is healthy enough to absorb the burst damage as they die… just keep plowing into them. When you stack your amalgamation to 9 to lift the plate, you’re down to 18. Then when you kill two corruptions after the plate flies off, you can then absorb another 9 each to bring the total number of residue down to 0 as you roll, leaving only the bloods up that have spawned since the lift. On an average attempt we had less than 4 active bloods after the first plate, and around 6 or 8 after the second. On our kill I think we might have had around 4 after the second roll which was fantastic. No matter how well you do up until that point, you still will get many, many, many bloods during the third plate, and we opted to avoid killing them as much as possible and have Dambrath kite. We didn’t need my DPS for the last lift, and I was able to AoE taunt, heroic leap away to help with the kiting for the kill.

On to Madness, to finish him off!