« Archives in April, 2013

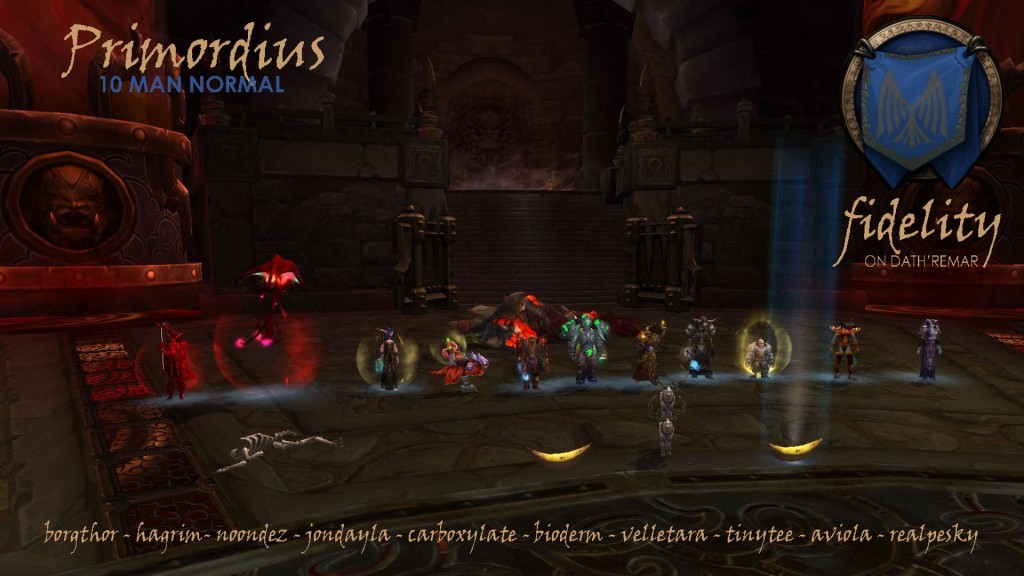
Primordius 10 Man Normal

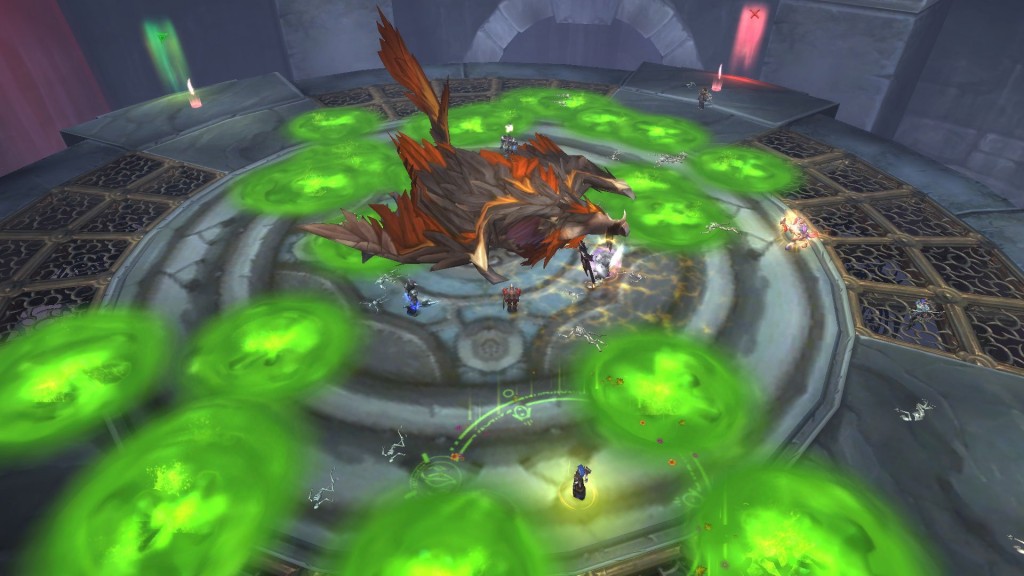
Primordius was certainly one of the easier normal mode encounters of the tier, requiring only 3 pulls to score a kill. The fight is mostly about mutation, with Living Fluid playing a key role. Living Fluid spawn around the edges of the room, and slowly make their way toward Primordius. If they hit Primordius, he becomes more mutated and dangerous, and if they are killed by players they can leave a mutagenic (red) pool, allowing the player to gain a helpful mutation (buffs: +5% stats or +10% of a secondary stat). The goal for DPS is to become fully mutated after 5 helpful mutations, so they can avoid the 75% damage reduction primordius has while being hit by lesser folk.

Primordius continues to “evolve” throughout the fight, gaining mutations from being hit by living fluid or absorbing any of the pools. When Primordius “evolves”, he gains 5% damage and a specific mutation effect. In normal mode he can simultaneously have 3 effects active, the only dangerous one being Pathogen Glands which will do 600,000 nature damage to a player over 10 seconds. The others are easy to handle so long as you are spread out. Gas Bladder is kind of disgusting, and having people in the green cloud to split the damage among more players is helpful.

When a Living Fluid is killed it will sometimes spawn a volatile (purple) pool. Players coming into contact with a volatile pool gain a harmful mutation, which is analogous to the helpful mutation, only twice as bad. Players can be dispelled, but they have all their mutations removed. It is crucial to avoid Primordius hitting a volatile pool, as he will instantly evolve and be healed for 10%.

All the pools slowly make their way towards Primordius, so the most common strateggy is to keep him moving in a big circle. Kiting in a circle gives players an opportunity to kill the faster moving living fluid easier, and to prevent any pools from reaching Primordius. There is a tank swap mechanic in the form of Malformed Blood, which can help the current offtank kill off some living fluids if he so chooses.

Players getting quickly fully mutated and delaying Primordius inevitably gaining new mutations is the key to the fight which can be summed up:

  • When not fully mutated, DO kill living fluid, DO stand in red pools
  • When fully mutated, DO kill the boss, DON’T stand in ANY pools (red pools while fully mutated give a harmful mutation)
  • NEVER stand in a purple pool
  • DO spread out
  • DO kill off some extra living fluid so healers can partake in the helpful mutations
  • DO kite Primordius to avoid him absorbing pools and reduce the number of living fluids that hit him

I can honestly say I understand this fight better after writing this post since we didn’t spend much time on him before a kill, I’m more likely to refer to mechanics as thinggies than usual.
Durumu the Forgotten 10 Man

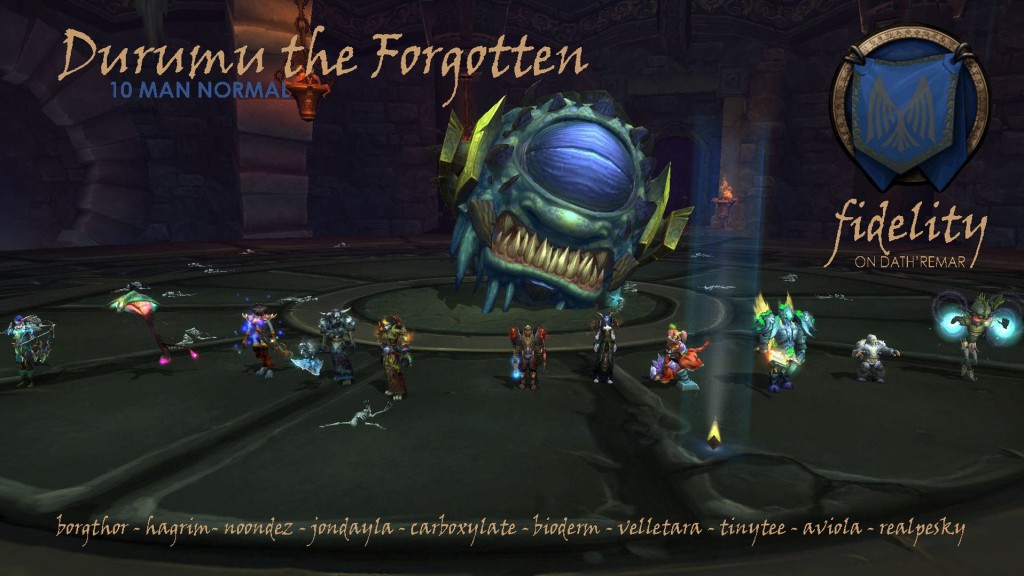
Durumu got some graphical fixes after our first attempts on the boss, and the change was distinct. Given how much bad press the maze got, I’m personally (this is not necessarily the view of <Fidelity> as a whole) convinced it was a mistake to release it with the change from PTR. I’m biased, since I think patch 5.2 was just a touch early anyway.

Now with the maze less of an issue, it is still a pretty tense mechanic, with the path opening up so close to the instant death beam as to be unnerving at times. The maze is just one of those pass / fail mechanics you have to experience, loathe, understand and then enjoy. It’s what I call the 4 stages of learning mechanics in raiding.

Speaking of pass / fail mechanics… Force of Will from Durumu’s Mind’s Eye is just nutty. The dark cone is very hard to see, and if you rely on a DBM warning (DESTRUCTION!)… when it doesn’t go off you are in trouble. It’s not hard to avoid, but there’s enough going on with the rest of the encounter that it can be demoralizing. Psychologically, I think there is a big difference between doing something silly, getting killed with the potential of a battle res, and getting flung out of line of sight never to return.

We handled Life Drain well, with a daisy chain participating to keep the stacks low. Reducing the healing the boss receives makes a big difference to the DPS required to beat the enrage, which is important on a progression kill.

We ran Lingering Gaze puddles out as far as possible, mostly so that they didn’t interfere with navigating the maze.

For Light Spectrum, we have some seriously eagle eyed raiders… or I’m particularly bad at spotting the flashes for the crimson fog locations. Tanks soak the bright light, while healers and DPS are split between the red and blue beams while hunting down the crimson fog.

Once the mean time to an individual failing on a boss mechanic gets high enough, you have a good chance at a kill! (It’s before 9pm right now).

Ji-Kun 10 Man Normal

Learning the Ji-Kun fight was a lot of fun, and there is plenty of room to improve on executing the mechanics to really master the fight.

After having a few pulls on the boss, our approach boiled down to using the minimum number of characters to take care of the nests, and getting the most out of the Primal Nutriments buff. We had dual Death Knights and a healer focus completely on nest duty. They devised a system so that they could refresh their Daedalian Wings to consistently fly to nests without running out of charges.

Each of the remaining DPS would jump down to a lower nest in turn, primarily to grab the wings for use back on the main platform. When Ji-Kun cast Feed Young, they would take flight and grab a food globule to prevent it hitting the platform, and to increase their DPS by 100% via Primal Nutriment.

The goal of this strategy is to maximise the DPS on Ji-Kun so that by the time two nests become active at once, you can ignore nests after taking care of the lower nest, and have everyone burn the boss with a couple of Juveniles active. It does require that the DPS on Ji-Kun maximise Primal Nutriment, and wreak havoc on the boss, and that the two DPS on nest duty can clear the upper nests as a duo. Our first kill was 7m22s long, and as Juveniles hatch, it isn’t fair on the healers to ask them to keep everyone up much longer than that. For reference we had Time Warp at 6 minutes in.

We were pretty aggressive at soaking slime at the beginning of the fight, and here what it looked like as the boss went down.

Monara <The Last Queen>

OMG, there’s a giant #@%ing exclamation point! I have a quest… Requiem for a Queen.

Oh no… I’ve fallen down and I can’t get up.

It is super simple, really. Instead of a mechanical monster to kill, it’s a banshee. Only she has a knock back and aggros from about 4325259790 yards away.

I don’t have any explanation for it, but after dealing with the windy bridge for weeks without problem, the sudden appearance of an auto accept “optional” quest made us lose our shit. People were getting flung from the bridge in a fashion that can only be described as willy nilly and accidentally aggroing the banshee, much to the detriment of the guild coffers.

However, we prevailed, and as I managed to catch up on the guild blog I thought we could all look back on this fateful quest and have a good laugh.

Megaera 10 Man Normal

For our kill, we were fortunate to have four healers available (thanks again, Avi). So we put aside any notion of killing the frosty head, and just powered through with venomous / flaming… repeat.

Having a major healing cooldown for every rampage was fantastic, and we even paired up a little cooldown (Devotion Aura) to go with a couple.

We tank swapped at two breaths, but it’s important to note that we didn’t have any more than three for any head. Once we have the DPS to consistently nail each each head in only two breaths per phase, we can avoid the tank swap and three healing will become a lot easier. I’ll update the post (or add a new one) with any alternative strategies we come up with.