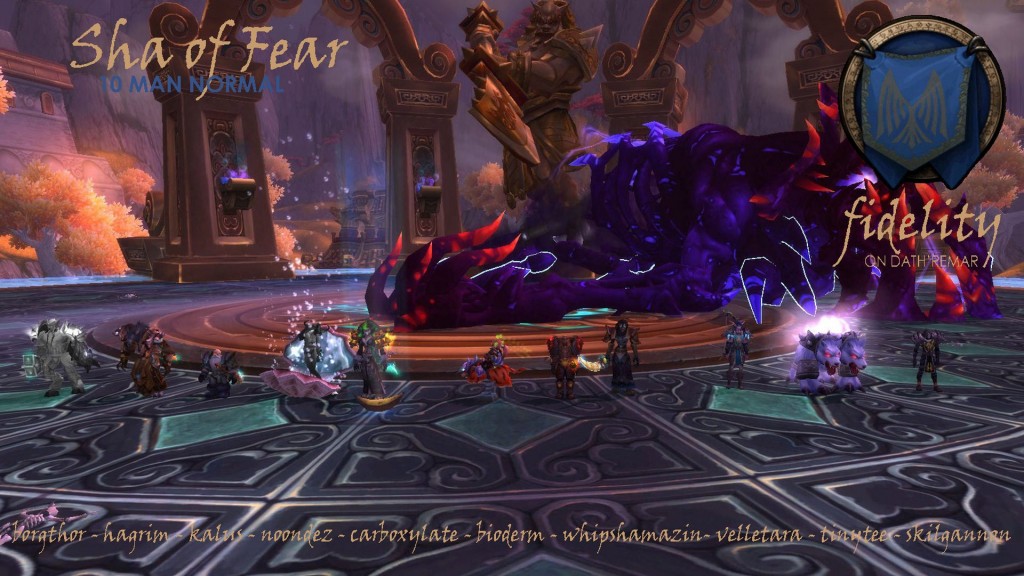
Fortunately, Sha of Fear was a good challenge to finish off normal modes. The fight is tuned for two healers on 10 man as expected when the raid is nicely split in half, and terrace as a whole is refreshing change of pace with every fight requiring both tanks.
When five of your friends suffer Ominous Cackle, and are transported to a platform to face off against a nasty panda, the rest of you are left with the Sha of Fear and his Terror Spawns.
While tanking Sha of Fear, having active mitigation up for Thrash is important, as well as having regular cooldowns ready to go. Healing on the main platform is extremely unforgiving depending on how many Terror Spawns are up and bombarding the healer with Penetrating Bolts.
Our DPS would kill the Terrors on the opposite side to the ominous cackle group so that they could immediately start DPSing Terrors that were in range on returning to the main platform.
In the Outer Shrines, the tank would establish a good threat lead on the crossbowman, and then run around collecting as many globes as possible, with a couple of exceptions. Healers get a great deal of benefit from the globes through the mana returned, so letting the healer get the globe closest to them is important. The only other class that we had that benefit greatly from globes was our hunter (via focus regeneration), who as a bonus can DPS well on the move. It is important to avoid any globes healing the boss, so it helps to get to know the collecting habits of your guildmates to make sure they are all taken care of. If in doubt, and you’re not almost dead… go grab the globe.
Avoiding Dread Spray can either be done with practise and concentration, dumb luck or just ignoring that it’s happening and grabbing the globes (which are spawning at the same time). Getting out of line of sight for Death Blossom is a must, but tanks and characters with superfluous immunities (I’m looking at you paladins) can hang out and collect globes.
The most important part of the fight is killing the panda with time enough to get the tank back into position before the other tank lands from the cackle. You know it’s getting a little easier when you can Intervene your fellow tank, high five and hang out for a little while before he gets taken away.
Once that immediate threat of wiping to Reaching Attack has been satisfied it’s time to start helping out your healers. The fight is hard enough to heal as it is without Terrors starting to stack up. Once we cleared the Terrors completely about half way through the fight, we knew the tables were turning on the Sha of Fear. We had a couple of attempts that didn’t get much below half way, but our kill felt completely assertive.

Comments (0)