One look at the raid team for the Heroic Sylvanas Windrunner kill and you might say, “Wow, that’s a lot of names, and I don’t recognise many of them!”. Fidelity worked on Sylvanas with Horizon and friends. A big thanks to Kerithwen for making the connection with Saxx that got this ball rolling. Our tales of woe before we get to the good stuff…
For Sanctum of Domination, we were down to a bare minimum roster. In hindsight I’m surprised initial progression was as smooth as it was. We managed to piece together a 10 man raid (on our best night 13) with guildies who had previously been AFK, or friends of friends. When our dwarf mountain, Hagrim busted his video card, we were granted a short reprieve with a graphics card on loan from a friend. A move interstate, with no internet and no graphics card saw everyone missing their favourite tank. I like to think his dwarf is meditating in a tavern somewhere, in stone form, waiting to be unleashed against the evils of Azeroth once more. But for now, with dwindling numbers, we opened Looking For Group, and found my guest screening capabilities severely lacking. It did not end well, and we took a wee break.
Enter Horizon! After Kerithwen and Saxx made the introductions, I was met by a welcoming committee. First Kitcatt, guild master, then Ash (Xaethe), raid leader and finally Michaela, the most positive guild advocate one could imagine. We discussed the group make up, roles and upcoming Sylvanas progression. The initial conversation was so encouraging, I was inspired to pug a normal Sylvanas kill to get some practise with DPS and pick up a much needed shoulder upgrade. Then it was on.
We jumped straight into Heroic Sylvanas progression with a whopping 27 raiders over the course of the evening. There were lots of new voices to learn on discord, and Sylvanas was doing her level best to murder us all. It was so much fun, and a great relief to be progression raiding again with no conceivable shortage of raiders. The following Wednesday, we had a farm for a delightful change of pace, clearing a whole bunch of bosses including a first Guardian of the First One kill for us. Having neglected my DPS set, it was fantastic to be picking up much needed Stygian Embers and a sweet, sweet trinket. I haven’t mentioned it yet, but I was having a blast DPSing. :)
Then on Wednesday, the group got up to a beefy 22, and Ash dropped into healing while I strapped on a shield. After steady progression and tighter execution in phase one and two, we crashed into phase three looking good for a kill. Platform one and two looked great, platform three a little wobblier, and it looked promising on platform four. Sylvanas was killing people left and right and we were running out of space to stand, but her health dropped to 50% and then to 49% and then … wipe. What?!?!? People with nameplates that actually report on portions of a percent were “saying what they see”, often different from each other… but we had wiped. Everyone agreed. She was below 50%. We all logged off feeling confused.
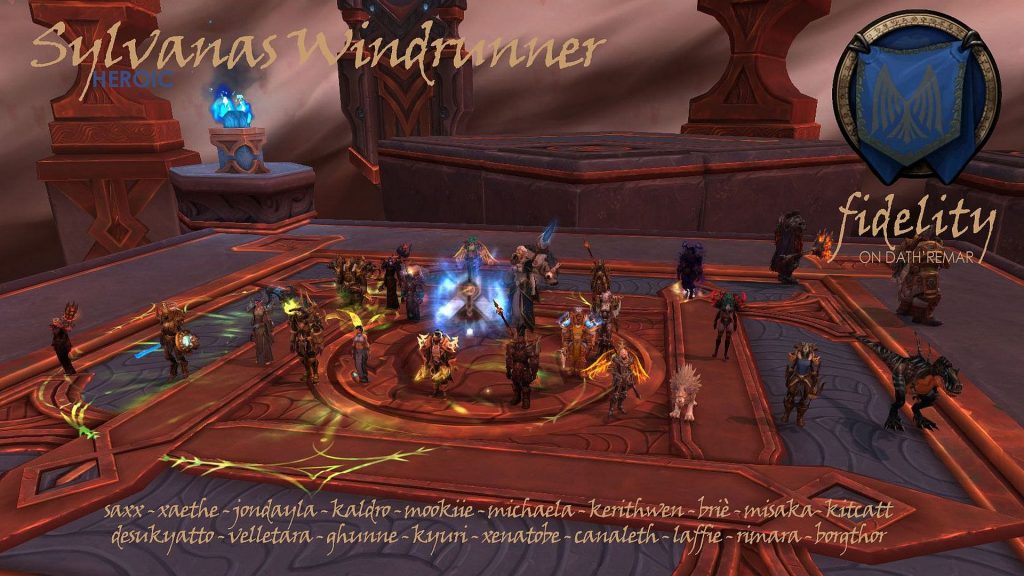
Come Sunday, we were slimmed down to 19, with an average item level of 241.6 and we finished her with purpose.
A big thanks to the Horizon guild, not only for the raiding but the very warm welcome. The part of progression I felt silliest was when I heroic leapt onto a little island off one of Thrall’s stupid bridges, and Michaela came to my rescue with a life-grip. I usually put how many attempts it took to get a progression kill… I personally clocked up 64 – but feel free to leave your number in the comments.
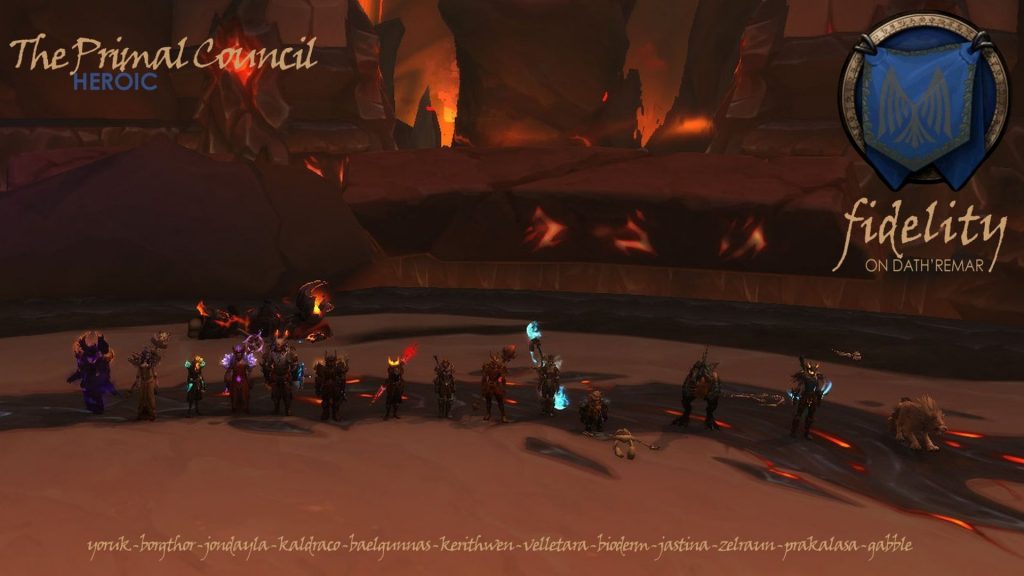
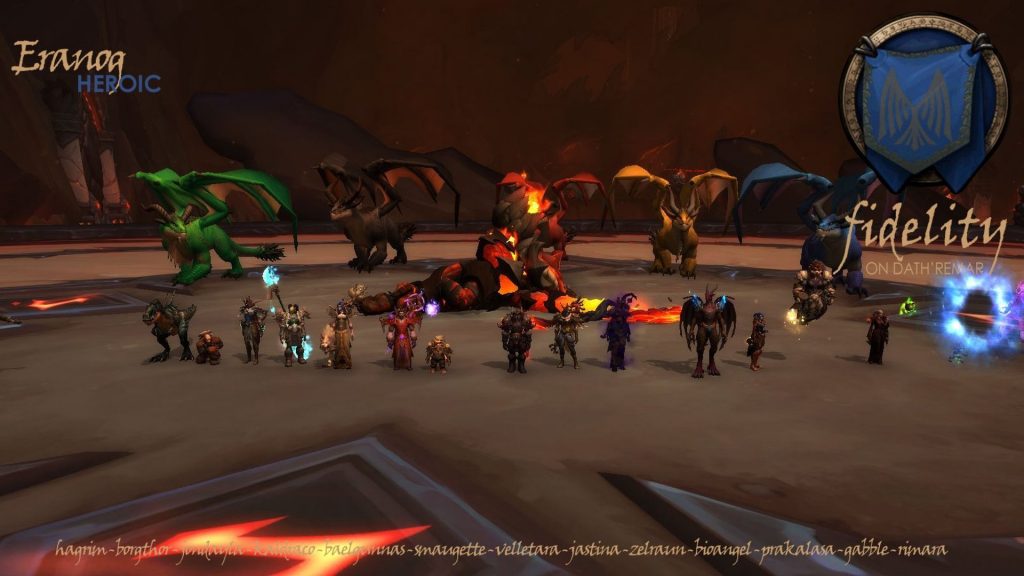
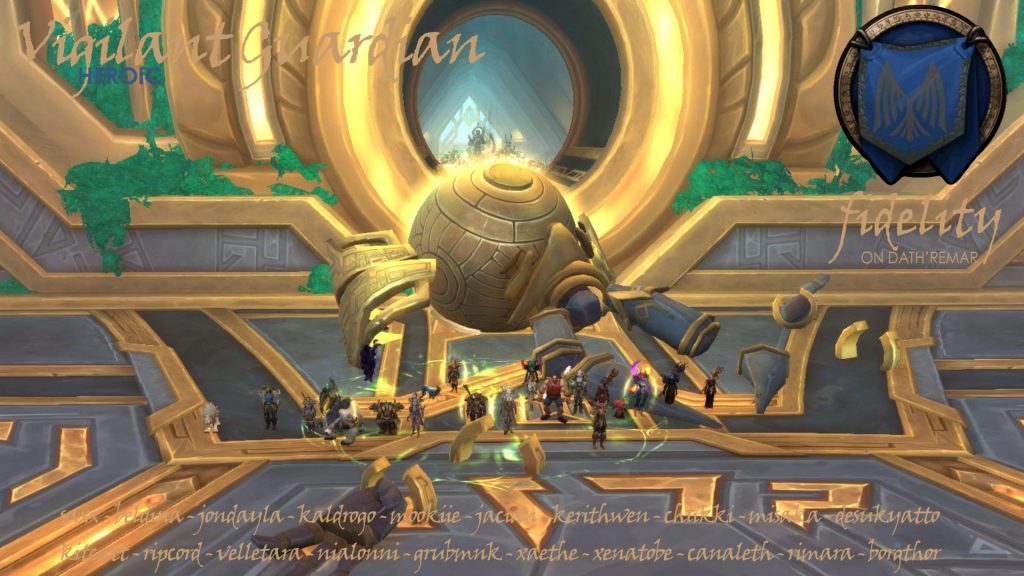
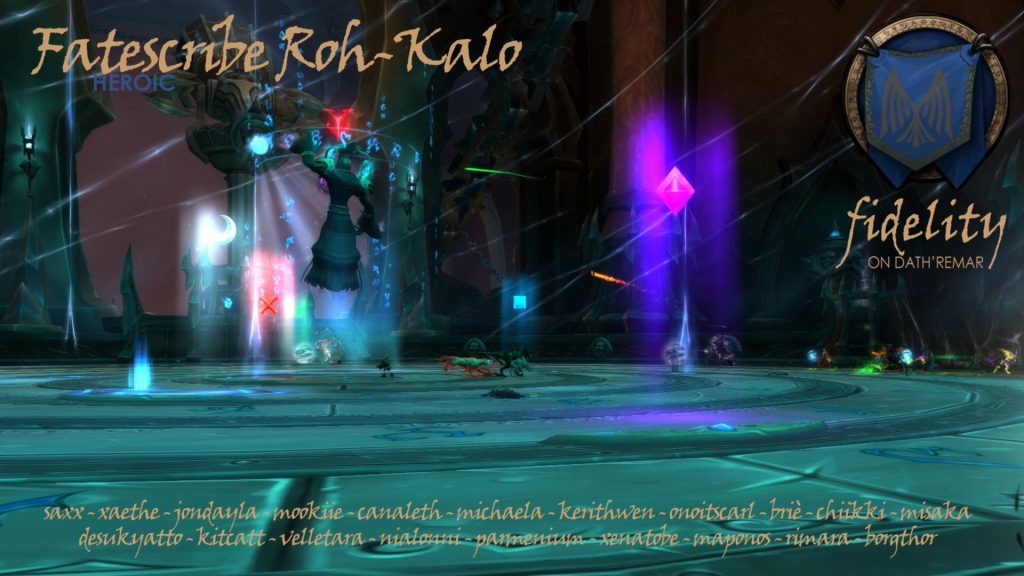
Thanks to Fidelity’s eight core raiders who happily took their hands off the steering wheel for a few weeks and participated rather than strategise, milked every ounce of performance out of their gear and happily switched roles for the good of the raid. It sure feels good to have another AotC under our belts.