Archimonde Heroic

Archimonde Heroic Fidelity

Heroic Archimonde was certainly a challenge for a small raid group. On nights where we had 10 or 11 raiders, it felt like we were banging our heads against a brick wall. It seems a shame that after a full expansion of flexible raiding, that the scaling is still so hit and miss, from boss to boss.

We persevered. For the first phases, we employed the ping pong strategy, moving the whole raid after each time Allure of Flames was cast. Getting people to reliably spread for Shadowfel Burst without spreading out excessively was a challenge, and stacking on the flare afterwards was worse.

We organised the raid into a melee group and one with ranged and healers (so our stack point flares made a nice rectangle). For Wrought Chaos, we had both the target and wrought players move into the channel between the flares where noone should be standing. Timing the Shackled Torments breaking took some finesse, but if people were on the ball, was usually managed well.

The difference in raid size was felt pretty dramatically even in the first phases. We were using three healers, and as we got the 12th, 13th or even a luxurious 14th person in the raid, the adds died soooo much quicker, and the first phases became a lot smoother as well.

In the last phase, our strategy was built around trying to get as much uninterrupted time on the boss after the second Nether Banish as possible. Our first Nether Banish group was reasonably small. Our second Nether Banish group was a big as possible, and designed to nuke the add and get out. Ideally, when the second group was out, the boss was super close to 26% and could immediately be pushed over and Rain of Chaos would begin. On our cleanest attempts, the 3 Internals would be grouped and nuked with the legendary DPS ring explosion, and we would have a lot of time with Heroism up, nuking the boss before the 3rd Nether Banish . If done well, Archimonde’s death almost seemed inevitable as the 3rd Nether Banish group went in. If not, it felt as if we’d barely put a dent in Archimonde before the next banish and things started to deteriorate from there.

The last phase requires everyone to spread out 6 yards for Demonic Feedback. The timing in relation to the 2nd Nether Banish would often cause serious havoc as it was a real struggle to spread out that quickly after coming out of the portal, with unleashed torments going off, wrought chaos shenanigans and an imminent Rain of Chaos. Oh yeah, we had hunters kill the Living Shadows. Super important to mention their crucial role.

We would ignore the second set of Infernals (by ignore I mean crowd control or stun them), and if needed send a sacrificial 4th Nether Banish group to die while we finished off the boss. The two biggest issues (aside from just enough throughput to kill the boss) in the last phase were range issues as people spread out too far to avoid standing on each other and people dropping the ball on getting into the Nether Banish.

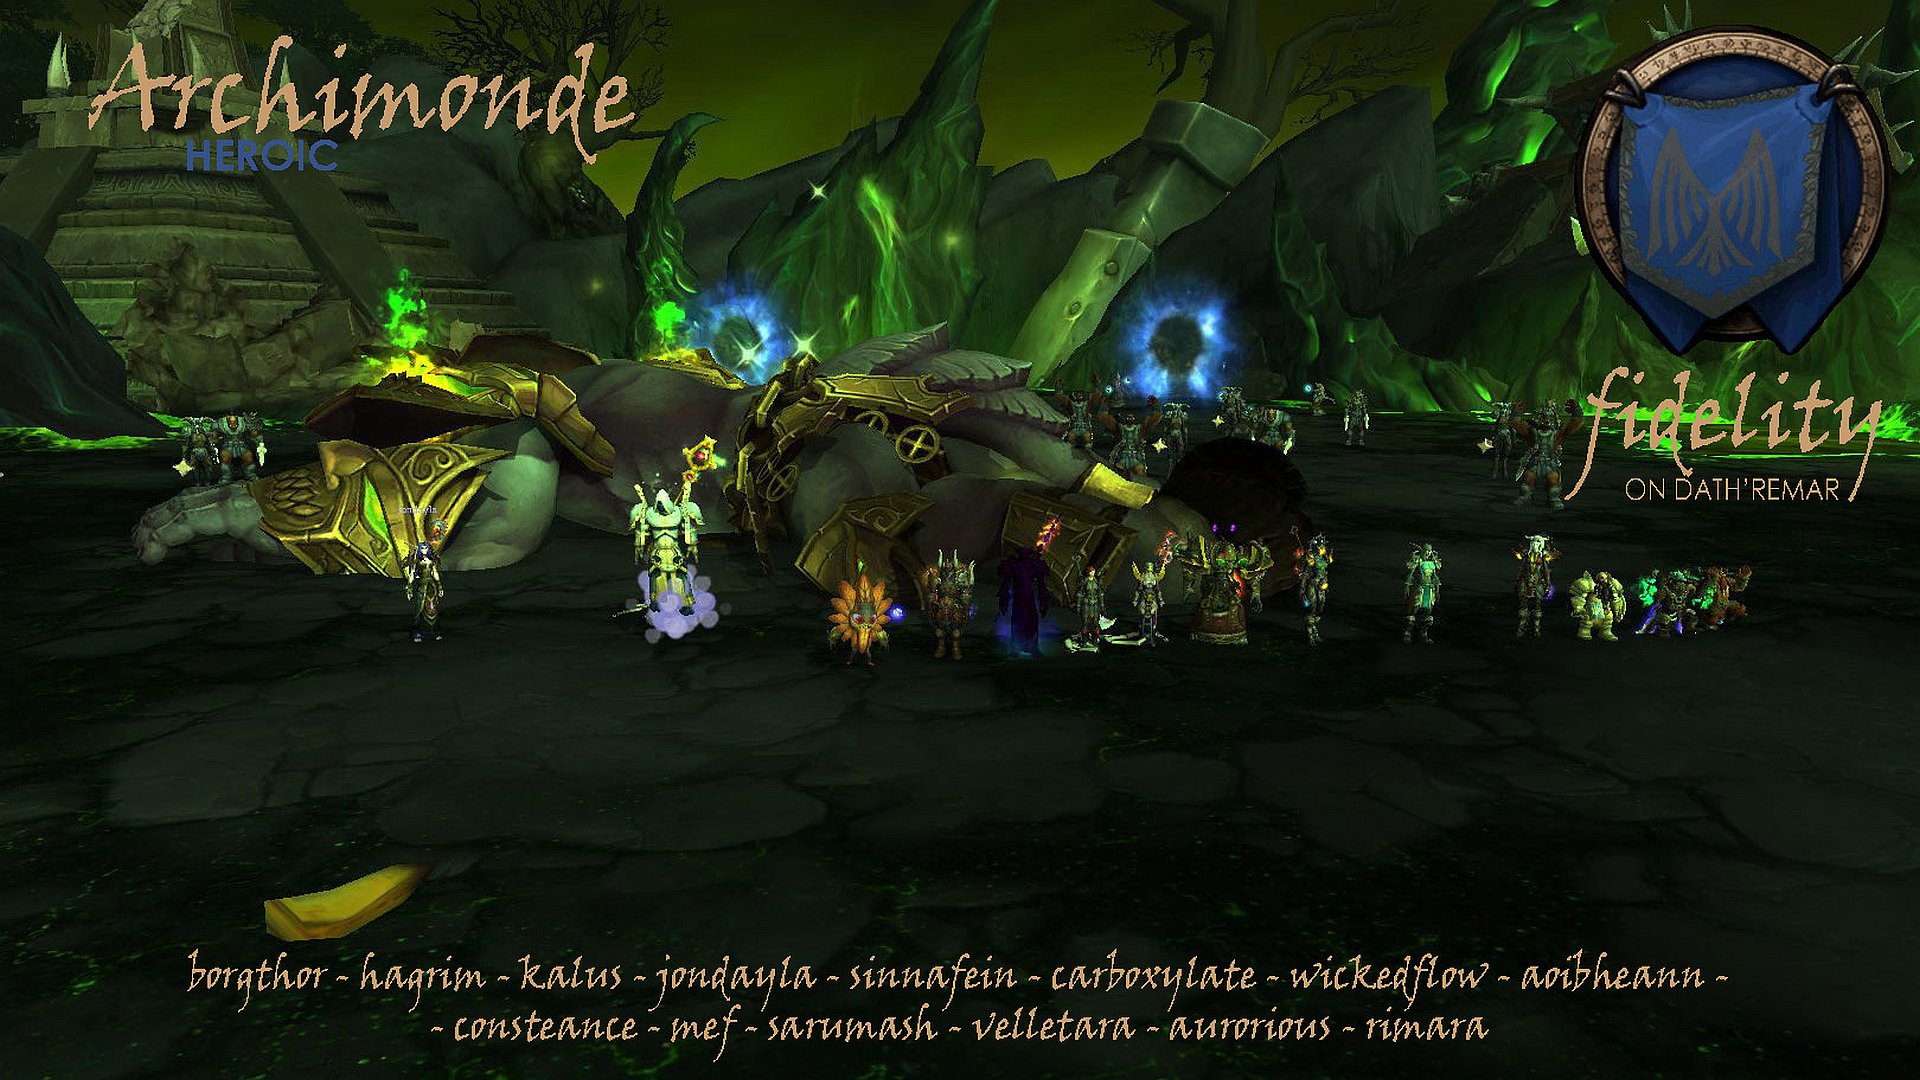
So finally, on first raid night of our last raid week before our holiday break we had a full 14 raiders. We kept to three healers to maximise our damage throughput in the last phase, and Archimonde fell. 113 attempts. Dead.

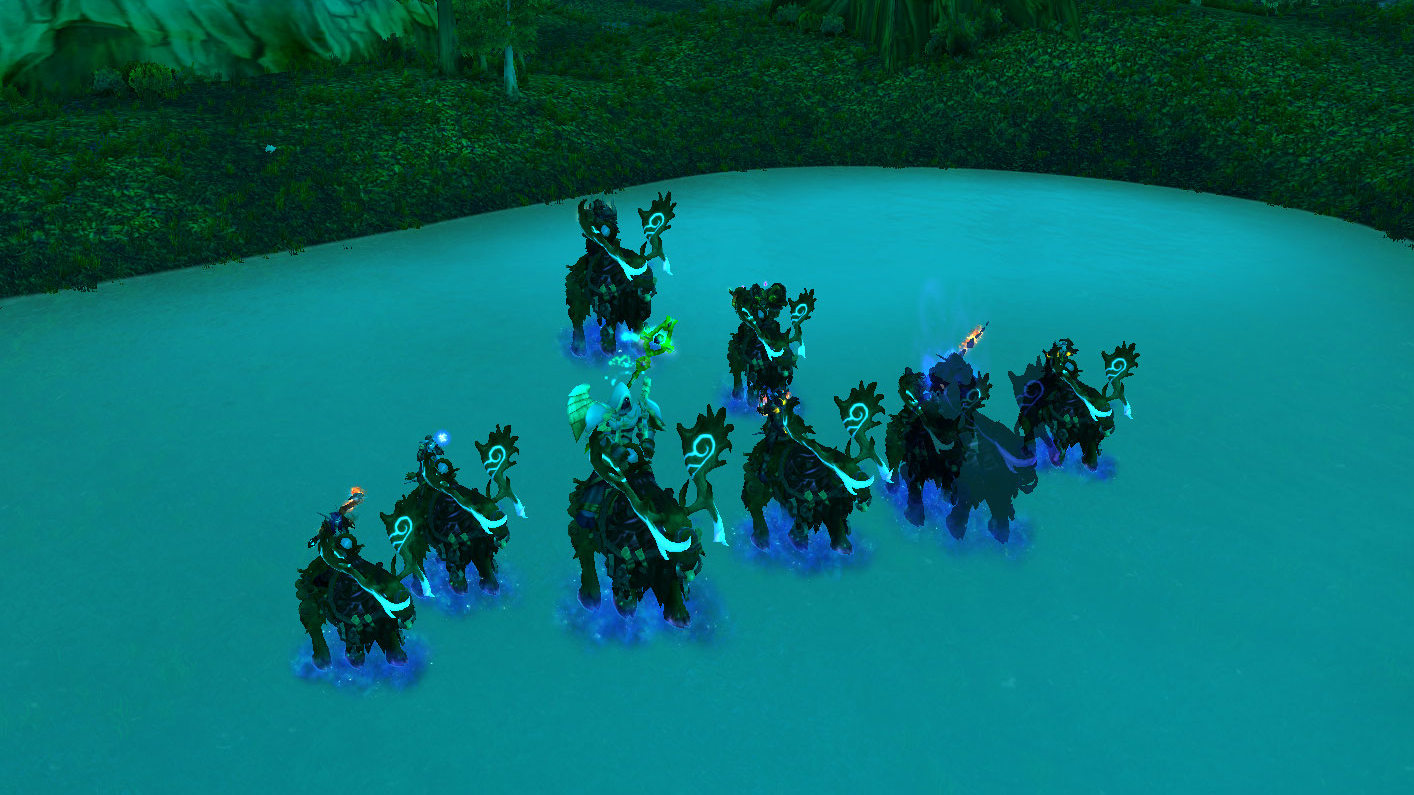
Demonstrating why the screenshot boss is the hardest boss… here’s some of us on our Moose mounts.

Moose Mounts

Mannoroth Heroic

Mannoroth Heroic Fidelity

Ouch. After making relatively quick work of Tyrant Velhari, Mannoroth proved to be a much more difficult challenge. We spent quite a bit of time facing the boss towards the center of the platform, with DPS stacked up against the green pillar. The number of times that we had someone feared through the ‘solid’ pillar to their death was extremely frustrating… especially after Blizzard grandly announced they had fixed that bug.

So we swung the boss around, and had two stack points to run between when Felseeker hit. With a lot more room to play with, there was much less risk of people getting punted off the platform by being slow to move on Felseeker. It even helped a little be with the odd person that was really out of position when they were targeted with Felseeker too. The other major advantage is that no one fell through the cracks after a fear.

Not even so much of a disadvantage as an adjustment was that people had to get used to the idea of good positioning for the Shadowforce push back. It is so much more severe than on normal, and a little bit of a shock to the system after many attempts just hoping you didn’t get pushed through the pillar to your unresurrectable death. The people being pushed back are very quickly out of range (rather than getting rammed into a pillar beside a healer) so dodging the Fel Hellstorm and topping people off was required to get through Shadowforce with consistency.

Extra DPS has a subtle, but important influence on the fight. If the imps and the infernals die quickly, they make positioning a great deal easier and leave some capacity to think about other mechanics of the fight clearly. In particular the combination of a Fel Imp-losion followed quickly by Mannoroth’s Gaze had the potential for some burst damage to anyone in the raid. With just a little bit of extra DPS we managed to avoid this altogether. However, some well timed stuns and AoE prevented the imps doing too much damage. Finally, there were some pulls where some very nice healing that outdid the imps burst DPS to save the day.

Of our 119 pulls on the boss, not too many saw us into phase three. Once we had the positioning sorted, got people to spread a little before the gaze… and then run like crazy from the Empowered Felseeker… we were well on our way to a kill. On the 118th pull… we were merrily trucking along. Everything was grand into the last phase, and we lost four people to Empowered Felseeker. We persisted and lost a couple more to the gaze. Still we kept at it, and got a little worried when the first tank went down. The bosses health inching down, towards victory… Finally when Esta went down, the boss had only 65k health remaining.

The next pull we killed him. Dead. Onto heroic Archimonde!

Kilrogg Deadeye Heroic

Killrogg Deadeye Heroic Fidelity

Kilrogg Deadeye was killed on our third attempt on heroic difficulty. Our first attempt we had issues with extra terrors. Rending Howl is the destroyer of raids, and with more than one terror up it is very difficult to prevent. The second attempt we were cruising until about the 50% mark. We had a some issues with multiple heart seeker hits combined with a well timed Death Throes and we were toast.

Fortunately, the third attempt was back to our normal execution and we scored a kill. We used Esta to tank the boss full time as in normal difficulty. Fortunately, the Fel Corruption was able to be kept in check with our regular strategy. For each Vision of Death we send in one healer and two damage dealers. When the healer comes out, they can stand on the melee pile to clear the stacks of Fel Corruption. Failing that, I was able to out range the terror exploding on death to avoid Fel Rupture and the 30 stacks of Fel Corruption it applies.

Three new bosses on heroic mode in one night was a great way to end the raiding week.

Hellfire High Council Heroic

Hellfire High Council Heroic Fidelity

Hellfire High Council was another kill on our first attempt on heroic difficulty. Esta tanked Dia, while Borg tanked Jubei and Bloodboil. After killing these bosses on normal several times, heroic difficulty feels like paying just a little extra attention will make things go like clockwork. Raiders were practiced at laying reap puddles, dodging Jubei’s swords and taking it to the face like a hero when Bloodboil decides to fel rage.

Getting the bosses to 30% health one after was pretty well executed, with maybe just a touch too much damage into Dia to be comfortable. Bloodboil went down very quickly, and Jubei was pretty much bang on 30% as he died. Jubei went down quickly, and the healers didn’t look the least bit bothered by his windwalk. After we popped heroism, Dia got blown to bits, and Mark of the Necromancer come close to getting out of hand.

Our second new kill for the night. Onwards to our third…

Kormok Heroic

Koromok Heroic Fidelity

Heroic Kormok was killed on our first attempt with our group of 14. Nothing about the fight felt much different than normal, although we were caught out at the end of the fight by the accumulating mechanics.

In normal, you only have to deal with the empowered mechanic associated with the pool Kormok recently took a paddle in. In reading the heroic guides for the fight, I had a little disconnect and took the importance of pool order as read.  We quickly realised in Heroic that we were still getting dragged during grasping hands… However, that didn’t prevent a collective brain fade on the third pool when the empowered explosive runes came out and the boss was nearly dead. With two thirds of the raid dead, we were able to comfortably finish off the boss for a satisfying one shot.

My understanding used to be that normal and heroic modes were mechanically identical, with only tuning being changed. So paying attention to any quirks between modes will serve us well for future bosses.

Iron Reaver Heroic

Iron Reaver Heroic Fidelity

Iron Reaver went down after 27 pulls, with 23 of them being on the night of the kill. We had a raid of 14, and after some time getting through 11 normal mode bosses, the gear level through the raid is the most even it has been in quite a while.

Not the most mechanically challenging fight, it did take a little while (and could still use improving) to get the positioning right. We tried to have everyone as close to the boss as possible, while still staying spread enough not to compound unstable orb damage. There’s nothing quite like watching someone die during pounding because they are out of range of Tranquility. Kal, the master of all, swapped specs again to Holy for an extra cooldown in the form of Divine Hymn. Esta and I had lots of fun managing artillery, since the timing gets a little awkward at moments.

Outside of some silly deaths, we didn’t have too much of an issue with the second phase. If we had everyone up, the bombs were dealt with without incident.

A quick note on bananas. Blizzard, in their infinite wisdom, have made a terrible change to our favourite toy. [The Golden Banana], on transition to the toy box, developed a neon blue glow. So no longer will we use this ‘golden’ banana, but with due restraint and respect for bag space, shall fling the [Magic Banana] instead.

Hellfire Assault Heroic

Hellfire Assault Heroic Fidelity

Hellfire Assault was a little bit of a shock to the system on day one of Hellfire Citadel. Sure it’s a great way to develop a bond between a new tanking pair, as the waves of adds just piled up, and berserker after hulking berserker crushed us into dust. Esta and I barely had time to enjoy watching Hagrim swing his mighty two handed weapon as the stout dwarf conceded that his schedule couldn’t sustain him through our assault on the citadel.

After a number of pulls, we yelled, “this’ll be nerfed”, and switched to normal mode. To say the difference between normal and heroic modes was like night and day is an understatement. It might be more like the difference between a nightmare and sipping your favourite beverage, in your favourite outfit, with your favourite people in your favourite climate. All of a sudden there was no need to single target, since the adds just exploded. As if in one last hurrah, Hagrim was a divine storm so bright it could not be eclipsed by mages of fire or newly buffed frost DKs. It was magnificent, and all too soon… it was over.

So the boss was nerfed, not just once, but twice while we tackled normal mode bosses. When we returned to Heroic Hellfire Assault, we three healed with Kal turning purple (and heads!) for a raid of 14. The extra damage more than paid off in reduced healing as we could more easily get through the high priority adds (vehicles and felcasters) and clean up berserkers before the slam debuff got out of control.

We started the fight with heroism, and got Mar’tak out of the way as quickly as possible. Then the rest of the fight boiled down to getting through the adds fast enough that the fight remains under control. It was so hectic towards the end of the fight, that the kill took a few of us by surprise. In total, it was 19 attempts for a satisfying kill.


Blackhand Heroic

Blachand Heroic Fidelity

Blackhand was an epic struggle on heroic difficulty, but we finally managed to kill him on the first raid night on the last week before the patch… not once… but twice!

As evident in the screenshot above, our roster was variable each time we got to give Blackhand a pummeling. To make matters more interesting we probably had more changes in personnel in a given night on blackhand than on other bosses. There’s nothing quite like seeing momentum stall half way through a raid night as we adjust. Hats off our healers and DPS that swapped specs at the drop of that hat.

We persevered, and even gave our newest healer the trial by fire to end all trials by fire (thanks Sinnafein for sticking it out). After 50 pulls, spirits were high. The first phase didn’t seem so bad (but the deaths in this phase really started to sting after a while). The second phase seemed pretty brutal. As we came up on the 100th pull, we thought we’d done our time and a kill should be close if we all just executed well. That’s when a missed impaling throw in the second phase started to sting… or when a Siegemaker killed too quickly one pull and then spread fire in the next started to really get under the skin.

We persevered… Over the course of the next 100 pulls, we got creative. Warlocks, jumping to the ledges to try and clear the first wave of Iron Soldiers. More healers. Less healers! Less and less and less people getting punted up to deal with the Iron Soldiers.

Finally it came to the Wednesday before what we were pretty sure was the last week before the patch. We only had twelve raiders. Jondy and Sinn were joined by Wickedflow and Inowyn in their offspecs for healing duty. I was confident that even four healing, the remaining damage dealers were up to the task. Crucial to this evening’s strategy was having Esta (Carboxylate) have his unholy way with the Iron Soldiers, so the rest of the crew could concentrate on Blackhand and the Siegemakers. Between Esta’s necrotic plague and my deep wounds, the Iron Soldiers both coughed up a lung and bled out very effectively, and if that wasn’t enough Hagrim’s shield to the face worked a treat.

We were into the third phase within an hour of the raid night, and we all knew that we finally had momentum towards a kill. It took us another hour to get back to phase three, frustratingly close to a kill. Two attempts later we were back there. Then, to more relief than joy, Blackhand fell.

After popping the bubbly, and having a great night’s sleep… my bone deep understanding of how raid lockouts work bubbled to the surface. It’s heroic. It’s flexible. There’s actually no reason we couldn’t just kill him again the next night. So that is exactly what we did. We grabbed our four missing people from the previous night and faced off against Blackhand. True to form, the addition of four raiders prompted a completely different composition. Inowyn and Wickedflow went back to dealing damage. Shakes and Kal were back, so we stayed with four healers for a group of 16. Wicked was able to help out with the Iron Soldiers who were more numerous. With the confidence that comes from having already killed it, 10 pulls later we had our second kill.

the Take Two Crew

the Take Two Crew

Blast Furnace Heroic

Blast Furnace Heroic

The dynamics of flexible raiding made every night different on Heroic Blast Furnace. For the first phase, we would split the raid with a variable lopsidedness on the Foreman’s side. We burnt down the bellows operator, but left up the engineers to score bonus bombs before he dropped his sack.

While we had this phase running like clockwork, on the night of our kill we had about six pulls in a row that were a total cluster $#@%. We had both the second bellows operators at high health, not even needing a second engineer to die to close both regulators. In the ensuing chaos, we lost one or two people and it got worse from there.

However, when Shakers came online, the dynamic shifted. Wicked could get back to DPSing, and instead of 3 heals, 11 raiders… we had 3 heals and 12. With the extra DPS on Foremans side, we could be sure to make quick work of the bellows operator and get into the second phase in even better shape.

The impact of an extra DPS flowed into the second phase, with the primal elementalists being more consistently killed in one shield phase, and the firecallers dealt with quicker. A consistent frustration throughout progression on the boss was the struggle between getting to each elementalist quicker and dealing with the firecallers more efficiently. Particularly as the last elementalist died, how many firecallers remained alive, and how quickly they died.

Fortunately, on our usual last, heroic pull of the night, as the last elementalist went down, we had one firecaller almost dead, and the other got obliterated. Our DPS switched to the few remaining security guards quickly and we survived the initial onslaught of damage.

The tank damage in the last phase is crazy, with Heat ticks being most of the damage. Usually with tank swap mechanics you can afford to save resources for the next tank swap… but even off the boss active mitigation and cycling cooldowns were key to survival. Having said that, the first time we got into the phase cleanly, it was a kill.

Overall the difficulty was a giant step up from Iron Maidens, and despite taking over 70 attempts on the boss, it was comparatively a more decisive kill than the rest of the bosses in Blackrock Foundry as far as guild ranking is concerned. Sometimes it’s just nice to know that when a boss is kicking you around, it’s seriously messing other guilds up too.

Oregorger Heroic

Oregorger Heroic Fidelity

Heroic Oregorger turned out to be quite the dramatic affair. We had 13 raiders on deck, and 4 healers. As we rotated cooldowns and tanks for Acid Torrent, the healing requirement was well in hand. Hagrim and I were fortunate to each have our own personal druid for Iron Bark as well.

Having plenty of practise at the Hunger Drive phase in normal, it didn’t take too long for people to adjust to the increased health of crates, and the extra healing required. We had our healers stay on the center corners and pleaded with DPS to manage their health and time away from the healers.

The most difficult part of the fight was coming out of Hunger Drive, and getting people into a position that mirrored the start of the fight. Making sure everyone stacked quickly, the boss snapped into the correction position (with melee and tanks in range and in line of sight of the healers). Once we had that sorted we were well on our way to a kill …

… until at the very end of the fight, the boss threw a tantrum and started jumping up and down. Health bars started heading south, even through the faint sounds of a tranquility in the distance… People started crumbling, and those that remained tried to rob Oregorger of the last of his life. Until, only the two tanks remained. I didn’t die to Oregorger’s Earthshaking Stomp, despite what the combat logs might suggest. As I slamed my shield with all my might into Oregorger, I heard the cries from a fallen ally, “Go Hagrim!”… and my will to live faded as quickly as my shield barrier.

Fortunately, the man-mountain Hagrim, and all around stoic tank isn’t given to fits of hysteria, and so calmly dispatched the boss, rendering his loot available to all. Three cheers for Hagrim, and Dwarves everywhere.